A stone fireplace can serve as a breathtaking focal point in your home, adding warmth, charm, and a touch of rustic elegance. Building a stone fireplace is a complex but rewarding project that requires careful planning, the right materials, and a little bit of masonry know-how. Whether you’re looking to enhance your living room or create an outdoor oasis, this guide will walk you through the steps to build a beautiful stone fireplace.
Materials and Tools You’ll Need:
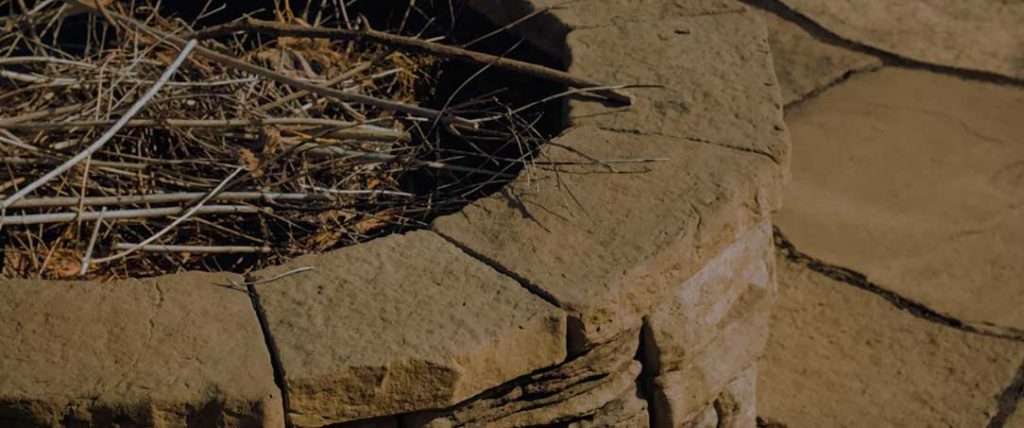
- Stone veneer or natural stones
- Fire-rated bricks or firebox kit
- Mortar mix (fire-rated for the firebox, standard for the surround)
- Concrete blocks (for the base and chimney support)
- Rebar (for reinforcing the base)
- Metal lath
- Trowels (pointing trowel, notched trowel)
- Level
- Tape measure
- Masonry hammer and chisel
- Wheelbarrow or mortar mixer
- Safety gear (gloves, goggles, dust mask)
Step 1: Plan Your Fireplace Design
Start by deciding on the location and style of your fireplace. Whether it’s indoors or outdoors, you’ll need to comply with local building codes and, for indoor fireplaces, ensure proper ventilation.
Tips:
Tips:
- Sketch out your design, considering the height, width, and overall look you want to achieve.
- Determine if you need a flue or chimney and whether it will be functional or decorative.
Step 2: Prepare the Foundation
A sturdy foundation is crucial to support the weight of a stone fireplace. For indoor fireplaces, ensure the subfloor can handle the load, or consider reinforcing it. For outdoor fireplaces, you’ll need to pour a concrete pad.
Steps:
Tips:
Steps:
- Dig down 12-18 inches (30-45 cm) and fill with gravel, compacting it thoroughly.
- Pour a 4-6 inch (10-15 cm) concrete slab reinforced with rebar. Let it cure for 24-48 hours.
Tips:
- Use a level to ensure your foundation is perfectly flat.
- Follow local codes for thickness and reinforcement requirements.
Step 3: Build the Firebox
The firebox is the heart of your fireplace, where the fire will actually burn. You can build this from fire-rated bricks or use a pre-made firebox kit for simplicity.
Steps:
Tips:
Steps:
- Lay out the first course of fire bricks in a U-shape.
- Use fire-rated mortar to set the bricks, maintaining a consistent thickness between joints.
- Build up the firebox walls, making sure to stagger the joints like a brick pattern for strength.
Tips:
- Ensure the interior walls of the firebox are smooth and evenly spaced to help with airflow.
- Use a level frequently to check that the firebox remains straight and plumb.
Step 4: Construct the Surround and Chimney
Once the firebox is complete, build up the surround using concrete blocks or bricks, which will act as the support for the stone veneer or natural stone finish. This structure will form the chimney and the exterior shape of your fireplace.
Steps:
Tips:
Steps:
- Stack concrete blocks or bricks around the firebox, securing them with mortar.
- Insert rebar vertically within the blocks for extra stability and fill with mortar as needed.
- If building a chimney, ensure you include a flue liner to manage smoke and gases.
Tips:
- For outdoor fireplaces, cap the chimney with a stone or metal cover to keep out rain and debris.
- Ensure the chimney is tall enough to create proper draft for the fireplace.
Step 5: Install Metal Lath and Scratch Coat
Attach metal lath over the block or brick structure with masonry nails or screws. This lath helps the mortar adhere to the stone veneer or natural stones.
Steps:
Tips:
Steps:
- Apply a ½ inch (1.3 cm) thick layer of mortar (scratch coat) over the lath.
- Use a notched trowel to create horizontal grooves in the mortar for better grip.
Tips:
- Let the scratch coat dry for 24 hours before proceeding.
- Check for any weak spots and add more mortar if necessary.
Step 6: Apply Stone Veneer or Natural Stones
Now comes the fun part—applying the stones to create the fireplace’s finished look. Choose stones that fit your design, whether uniform in size or a mix of different shapes and textures.
Steps:
Tips:
Steps:
- Start at the bottom and work your way up, applying mortar to the back of each stone.
- Press each stone firmly onto the scratch coat, wiggling slightly to ensure a good bond.
- Use a level to keep each row straight, adjusting as needed.
Tips:
- Vary the sizes and shapes of stones to create a natural, random pattern.
- Use a chisel to trim stones as needed to fit around edges or corners.
Step 7: Grout the Stones
Once the stones are set, fill the gaps between them with grout. Use a grout bag for control, similar to icing a cake, and smooth the joints with a pointing tool.
Steps:
Tips:
Steps:
- Fill the joints completely, being careful not to smear grout onto the stone faces.
- After the grout begins to set, use a brush to clean the stone surfaces and smooth the grout lines.
Tips:
- Keep a sponge and water nearby to wipe away any excess grout before it hardens.
- Allow the grout to dry fully before using the fireplace.
Step 8: Finishing Touches
Complete your fireplace with a mantel, hearth, or decorative elements like stone caps or trim. Seal the stones if desired to protect against stains and moisture.
Tips:
Tips:
- Consider adding lighting or built-in storage for firewood as extra features.
- Seal the stonework with a masonry sealer for enhanced durability.