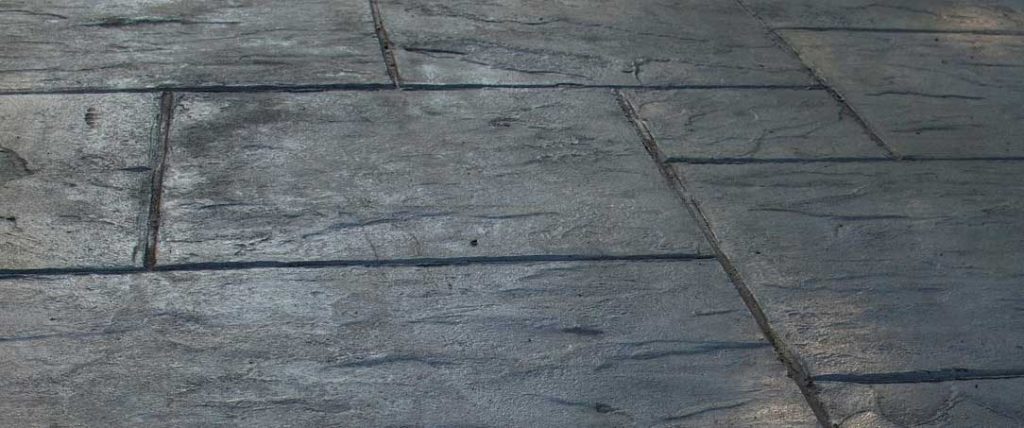
Laying patio stones is a great way to create a beautiful and functional outdoor space that enhances the aesthetics and value of your home. Whether you’re aiming for a simple garden path, a cozy seating area, or a full-scale patio, the process is straightforward if you follow the right steps. Here’s a comprehensive guide on how to lay patio stones to achieve a professional-looking result.
Materials and Tools You’ll Need:
- Patio stones or pavers
- Gravel or crushed stone
- Sand
- Landscape fabric
- String and stakes
- Level
- Measuring tape
- Rubber mallet
- Plate compactor (can be rented)
- Broom
- Garden hose or sprayer
Step 1: Plan Your Patio
Start by planning the size, shape, and location of your patio. Measure the area where you want to lay the stones and mark the boundaries using stakes and string. Consider the natural slope of your yard for water drainage, and avoid low spots that collect water.
Tips:
Tips:
- Choose a location that complements your landscape.
- Consider adding a slight slope away from your house to prevent water pooling.
Step 2: Excavate the Area
Dig out the area to a depth of about 6-8 inches (15-20 cm), which allows room for the gravel base, sand layer, and patio stones. The depth might vary depending on the thickness of the stones and your region’s freeze-thaw cycles.
Tips:
Tips:
- Remove any grass, roots, or debris to create a clear and level surface.
- Keep the sides of the excavation straight to prevent the edges from collapsing.
Step 3: Lay Landscape Fabric
Lay landscape fabric at the bottom of the excavated area. This step helps prevent weeds from growing between the stones and keeps the gravel base stable.
Tips:
Tips:
- Overlap the fabric edges to ensure complete coverage.
- Secure the fabric with landscape staples if needed.
Step 4: Add the Gravel Base
Spread a 4-6 inch (10-15 cm) layer of gravel or crushed stone over the fabric. This base layer provides stability and ensures proper drainage.
Tips:
Tips:
- Use a plate compactor to compact the gravel evenly, ensuring a solid base.
- Check that the base is level, with a slight slope away from structures.
Step 5: Add a Sand Layer
Add a 1-inch (2.5 cm) layer of sand over the compacted gravel. This layer helps level the stones and provides a cushion.
Tips:
Tips:
- Use a straight board or a screed to level the sand, ensuring a smooth, even surface.
- Do not compact the sand; it should remain loose to allow for stone placement
Step 6: Lay the Patio Stones
Begin laying the patio stones from one corner, working your way out. Position each stone carefully on the sand layer and tap it gently into place with a rubber mallet. Ensure each stone is level with its neighbors.
Tips:
Tips:
- Use spacers or your preferred method to keep consistent gaps between stones.
- If a stone needs adjustment, lift it and add or remove sand as necessary.
Step 7: Fill the Joints
Once all the stones are in place, spread sand over the surface and use a broom to sweep it into the joints between the stones. This helps lock the stones in place and creates a finished look.
Tips:
Tips:
- Use polymeric sand for a more stable, weed-resistant finish.
- Lightly mist the sand with water to help it settle, but avoid washing it out of the joints.
Step 8: Final Touches and Maintenance
Inspect the patio for any uneven stones and adjust as necessary. Regularly sweep sand into the joints and check for any settling, especially after heavy rain.
Tips:
Tips:
- Add decorative edging or borders to keep the stones in place.
- Seal the stones if desired for added protection against stains and weather.

